
Home › Blog › Software Installation Guide for Affiniti
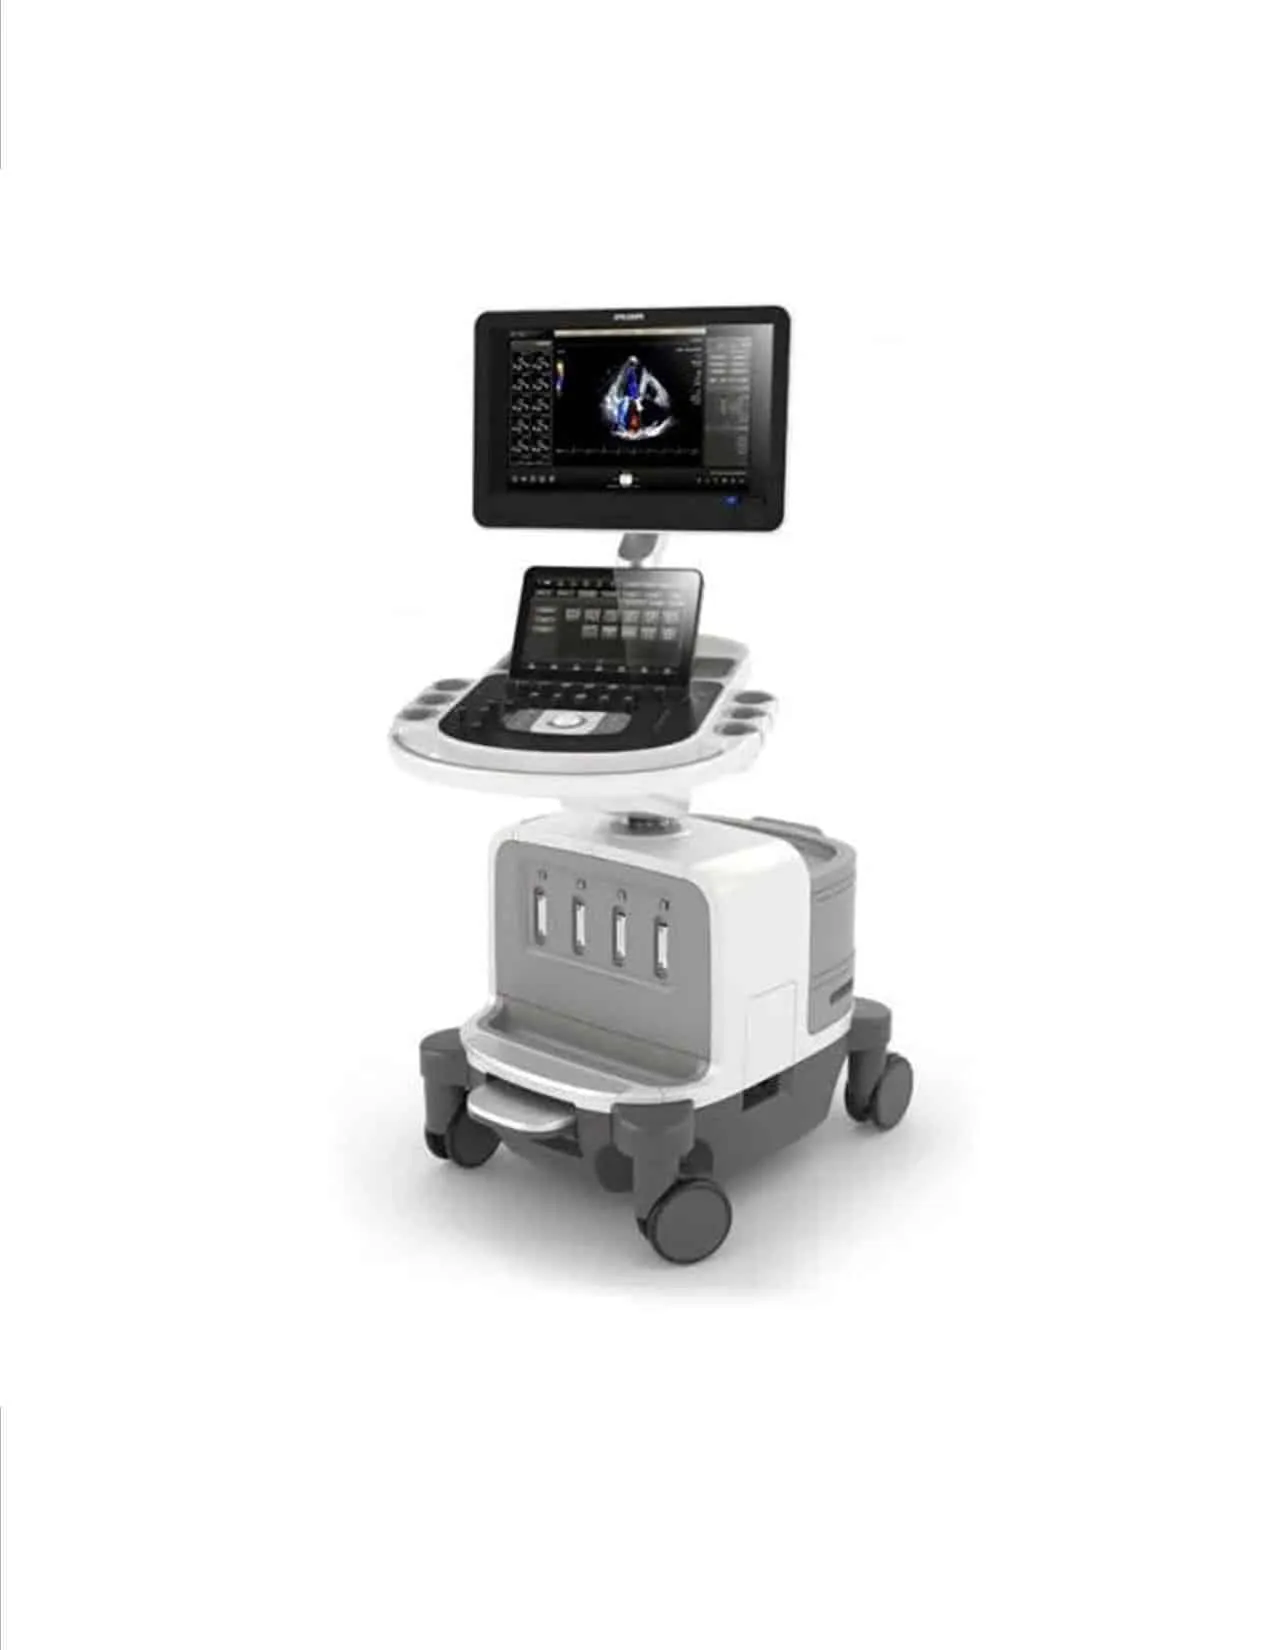
Technical Guide: Software Installation on Philips Affiniti 30, 50, 70 and CVx
August 18, 2026 | Reading time: 8 minutes | Philips Affiniti, Software Installation
📋 In this article:
Software installation on Philips Affiniti 30, 50, 70 and CVx ultrasound systems is a technical procedure that requires precision and attention to detail. This article provides a step-by-step guide for service technicians who need to perform this task.
Before starting, it is important to understand that the process carries significant risks if not performed correctly, including patient data loss and system inoperability.
Requirements
Make sure you have the following before starting:
- System BIOS access password.
- IST Smartcard or Service Key.
- USB drive with the software to be installed.
- New License Option File (LOF) for the respective version.
- External media to back up settings and logs.
- External media (provided by the customer) to back up patient images.
⚠️ IMPORTANT: The customer must back up all patient images and studies before starting. Once the process begins, all data will be lost if "repartition" is selected.
Step 1: Backup Settings and Logs
Before installing the software, it is essential to back up all system information:
- Back up settings: From the service menu (
Supportkey), select "Backup/Restore" and save all settings to a USB drive. - Run full diagnostics: Run the "System Test" to verify that the hardware is functioning correctly.
- Download error logs: Export the system error logs to have a record before the intervention.
Step 2: Preparation
- Disconnect transducers: All transducers must be disconnected from the system.
- Verify date and time: Make sure the system date and time are correct.
- Disconnect network cable: The network cable must be disconnected to prevent installation failures.
- Verify functionality: Confirm that the system is functioning correctly before starting.
⚠️ WARNING: Software installation will erase all data on the hard drive if "repartition" is selected.
Step 3: Software Installation
- Set boot from USB: Access the BIOS (
Delkey during startup) and set USB as the first boot device. - Start installation: The system will boot from the USB drive and begin the installation process.
- Select "repartition": At the "Install Message 1" prompt, select "Yes" to repartition the drive.
- Wait: The system will restart several times. Do not intervene during this process.
- Complete: The installation is complete when the system powers off completely (blue light off).
📌 NOTE: If the system has SafeGuard (Whitelisting) enabled, the installation may take up to 45 additional minutes.
Step 4: Restore Settings and Licenses
- Install new LOF: Install the new License Option File (LOF) for the respective version.
- Restore settings: Restore the customer settings from the USB drive.
- Verify restore: Perform the restore twice to ensure all settings are loaded correctly.
- Reset boot order: Go back to the BIOS and set the hard drive as the first boot device.
Step 5: Final Verification
- Run a complete system diagnostic to verify everything is working correctly.
- Verify all system functionalities (OEM, network, printing, etc.).
- Reconnect the network cable and verify connectivity.
- Report the completion of the process per service procedures.
Conclusion
Software installation on a Philips Affiniti system is a complex procedure that requires technical knowledge and attention to detail. If you do not feel confident performing this process, or if you prefer to avoid risks, Triaxis Medical Service can perform the installation remotely, ensuring that the process is completed safely and professionally.
Learn about all our services at remote support for Philips ultrasound .
Need to Install Software on Your Affiniti?
Contact us. We perform remote software installations, risk-free and with complete professionalism.
Request Remote Installation